Well… I wish I had something good to report. Sadly, we haven’t made much headway as of yet.
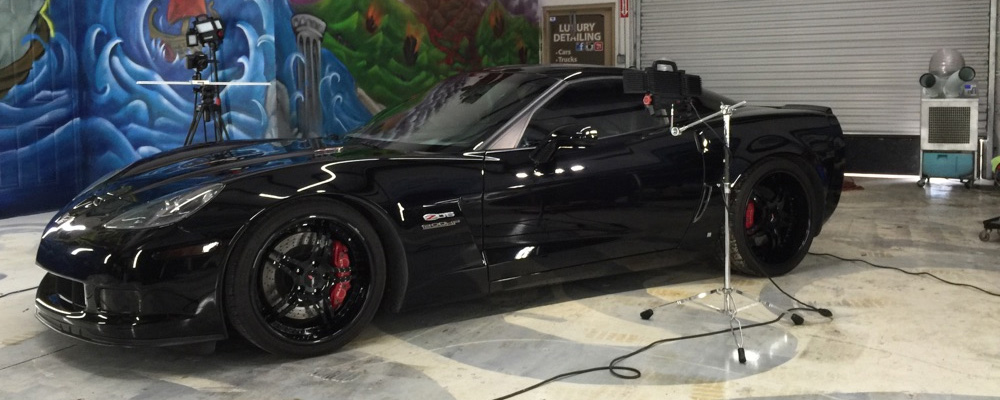
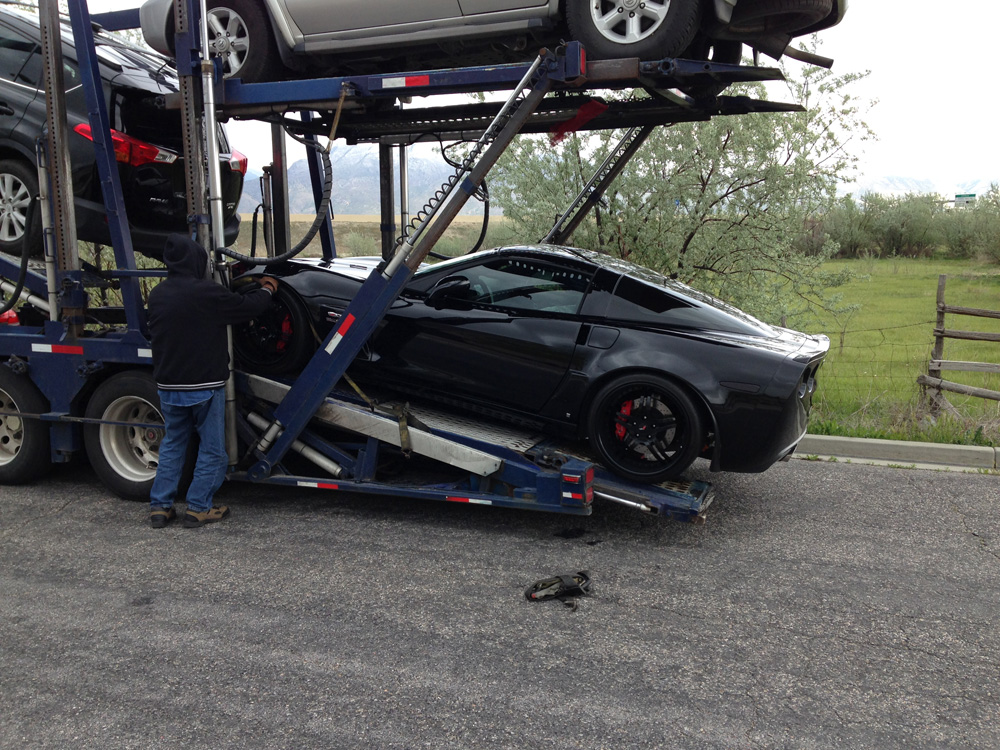
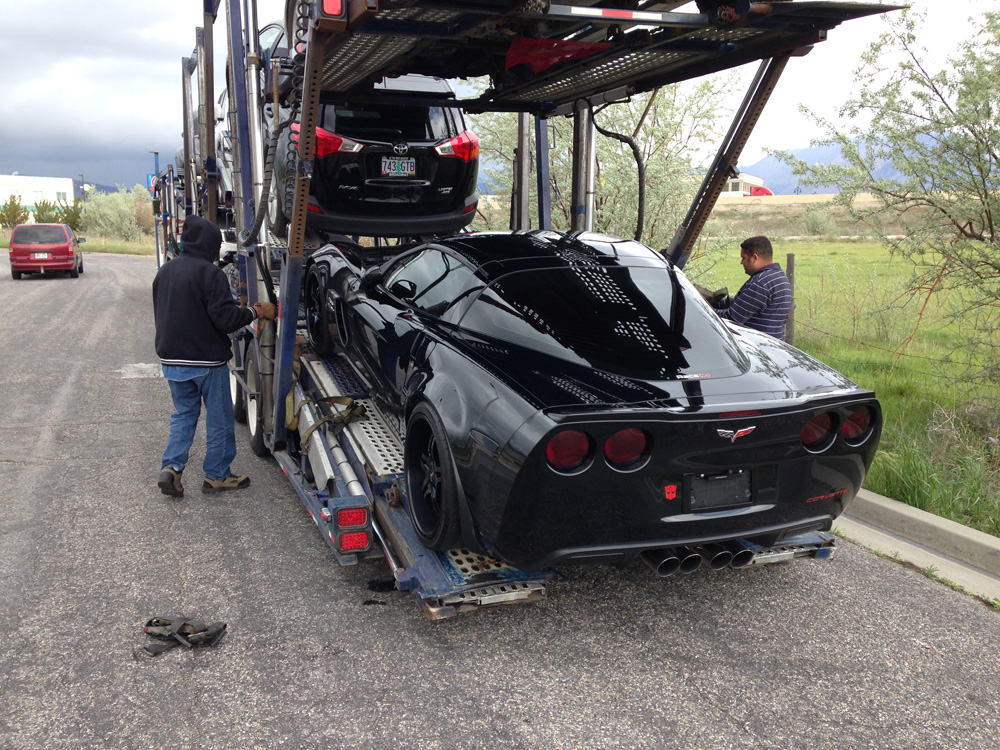
I got my Corvette back from Premier a few days ago. While it was exciting to have it back I have to confess that I’m a little disappointed. As I have said before I like the guys at Premier, but even though they had the car for four months this time (over seven months total) I feel like the car just wasn’t ready.
To be fair they did an outstanding job adjusting my alignment. They noticed my steering linkage were loose and corrected that as well. The steering wheel is aligned now, no dead spots, the car drives straight and feels nice and tight. It’s a huge improvement and it’s a blast to drive.
I understand that I’ve essentially built a race car and some drivability elements have been compromised but some things could be better. After driving my Corvette for a few days I’ve identified several issues that I consider “in need of a second look.” I feel like these things need to get fixed for me to really enjoy the car.
1. RPM surging & Stalling
Sometimes when the car if moving and I push in the clutch (e.g., to shift) the RMPs will swing between 500 and 1200 before stabilizing at around 800. Once in awhile when the clutch is pressed the RMPs drop to 0 and the car stalls:
I realize I’ve got the RMPs pretty low in this video. At first I was just coming off the freeway and let my RMPs get low before shifting and the car died. I tried to replicate it by keeping the RPM’s down (seemed like it sort of worked).
After talking with some people and giving this some thought I think I’m experiencing cam reversion. Since the car has a MAF tune some of the engine air is getting pushed back up (I have a pretty big cam) toward the sensor and this affecting the car’s ability to meter air correctly, especially as the car transitions into neutral / idle RPMs. Considering I have a MAF tune the car runs really well, but I think I may need to switch it to a speed density tune.
2. Dieseling
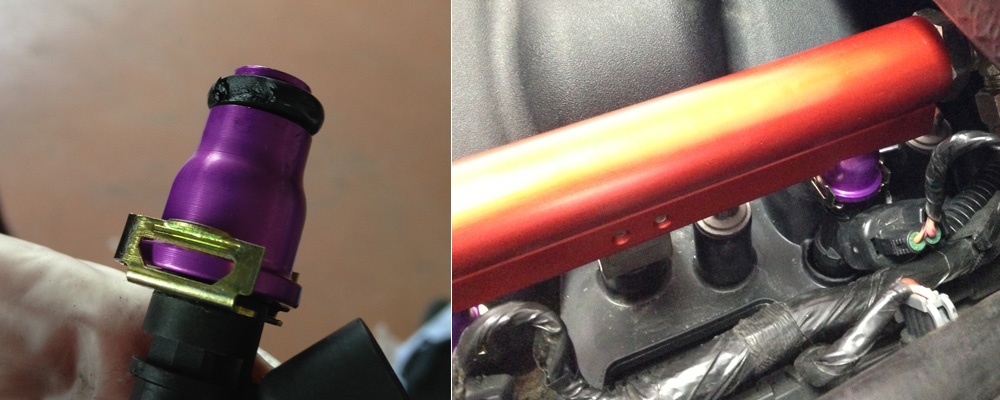
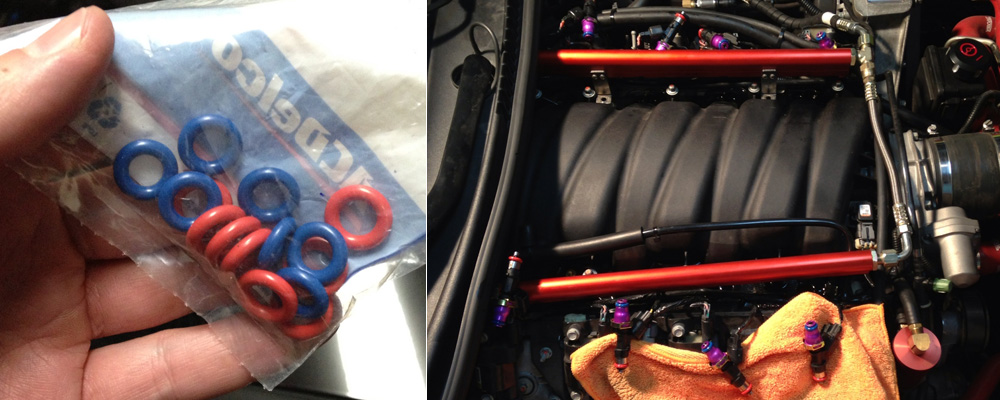
After breaking the car in I had new Injectors installed (ID 1000s) and that’s when I noticed the engine run on. Premier did swap out the injectors and try to address it in the tune but the problem persists.
Personally I think it might be related to an air leak, possibly the spark plugs, or maybe carbon build up on the internals (creating a hot spot). I will keep working on it. I guess it’s not really a big deal- if I clip the throttle up to 1500 rpms it shuts off just fine.
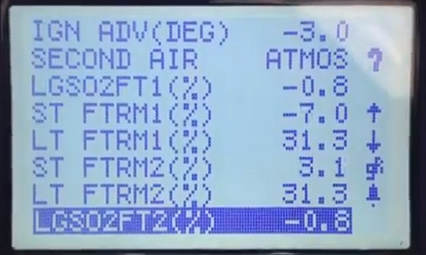
3. Long Term Fuel Trims (LTFT) are rising:
Probably out of paranoia I checked my LTFT and noticed they were at +18%. When I checked the LTFTs the next day they had risen to 24%. I suppose the only real downside to this is that the car is mighty smelly and mileage is wicked bad.
This could be related to an air leak. It seems like running that rich could certainly contribute to engine run on too. It might also be in the tuning- seems like that would be negligent tuning though.
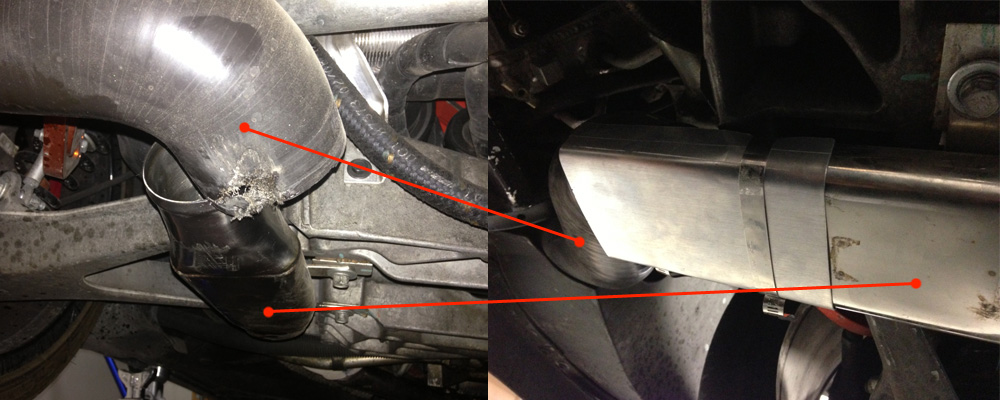
4. Boost Controller
This is really the only thing I have to get fixed. I have an AMS-1000. Lung and Premier worked to set up the boost controller, but it’s having some issues. After doing a few runs with the boost controller I noticed there were several issues. With the unit “off” the car boosts to 6psi (wastegate spring is 6 pounds). On each subsequent WOT run the car looses boost (maybe a pound or so). That shouldn’t be happening. If “high boost” mode is activated (13psi) it seems to work okay. But then when the system is shut back off the car only boosts to around 2psi.
I looked over all the connections (that I could see) and I didn’t find any lose hoses. I think this issue could be related to an air leak or it’s either plumbed wrong or the decrease solenoid is having an issue (which seems unlikely, as it resets okay when the car is restarted). It’s annoying that it “worked” for Premier. They must not have done much testing…
I actually unhooked the AMS-1000 a few days ago since it was misbehaving. The car seems to work much better and boosts to at least 6 psi now on every pull. However for a brief period of time the car was boosting to 10psi… I don’t have any explanation for that at the moment.
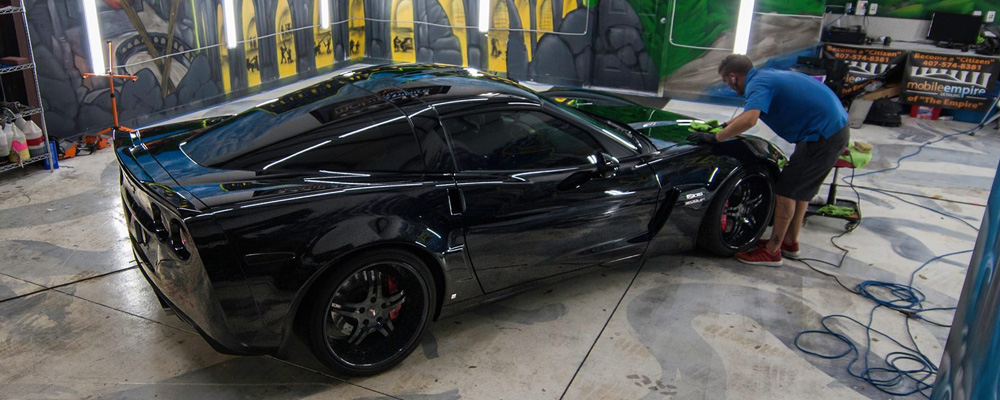
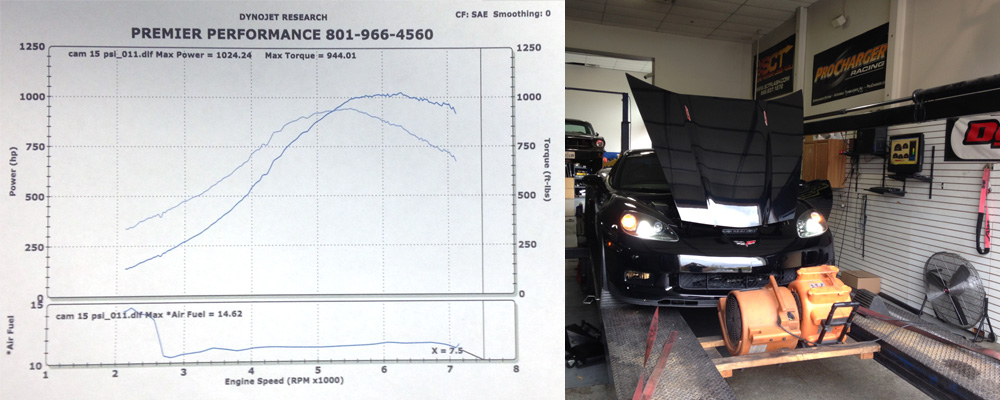
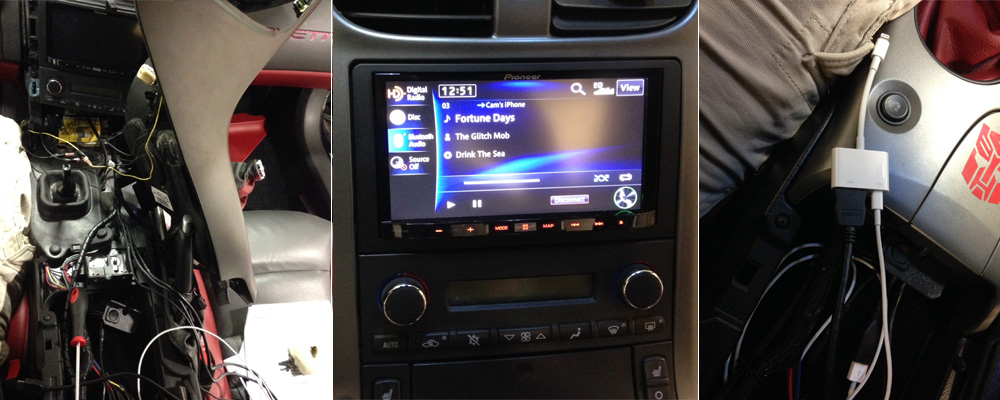
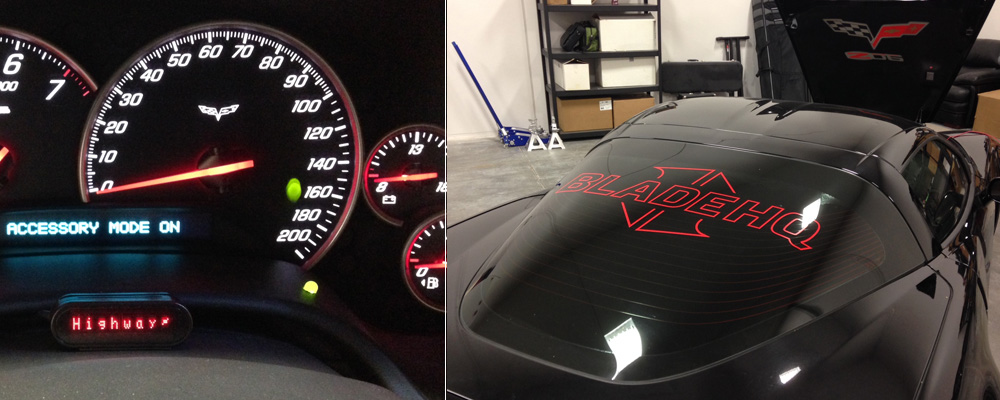
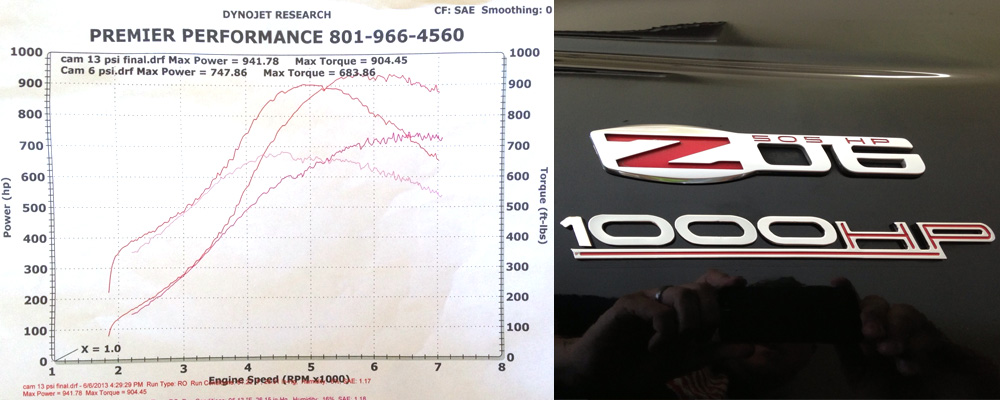
I did decide to give the Vette a little love. I replaced all the interior lights with LEDs (I like how LEDs look way more than incandescent lights). And even though it’s not perfect the car makes 1000+ hp now so I upgraded the car’s badge.
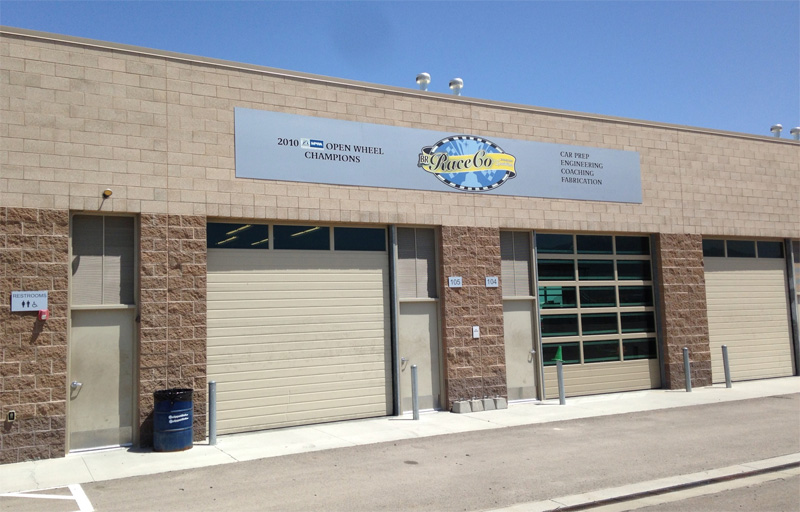
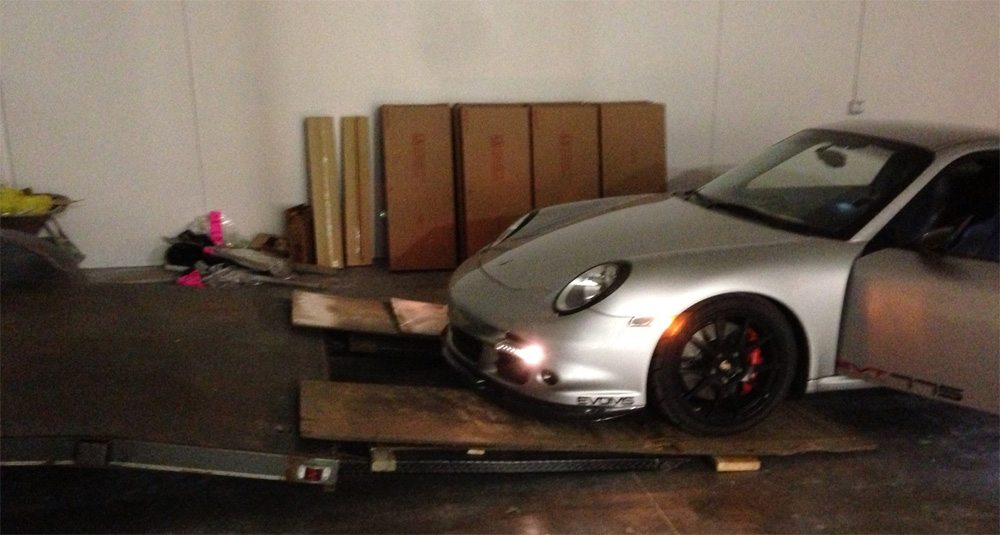
I took the Vette up to RaceCo today and swapped it for the Porsche (I don’t feel like Premier can do any more at this point). I’m hopeful that they will be able to identify any mechanical issues the car has (i.e. air leak) and we can go from there!
RaceCo said the Porsche was ready to rock and roll. The intercoolers were replaced, the long term fuel trims were holding steady and the car was running great. I picked it up earlier this afternoon (well, swapped it) and it was running great for about 25 miles or so.
I stopped and got gas and after a few minutes the CEL popped on. Doh! I thought about turning around, but hoped that maybe it was just a gas cap issue since the car seemed to be running fine. But after another ten miles or so it was clear it wasn’t the gas cap. The RMPs were going nuts when the car was in neutral. By the time I got it home the idle speed had jumped to nearly 1600 RMPs.
I pulled the codes from the car and it was like dejavoo!
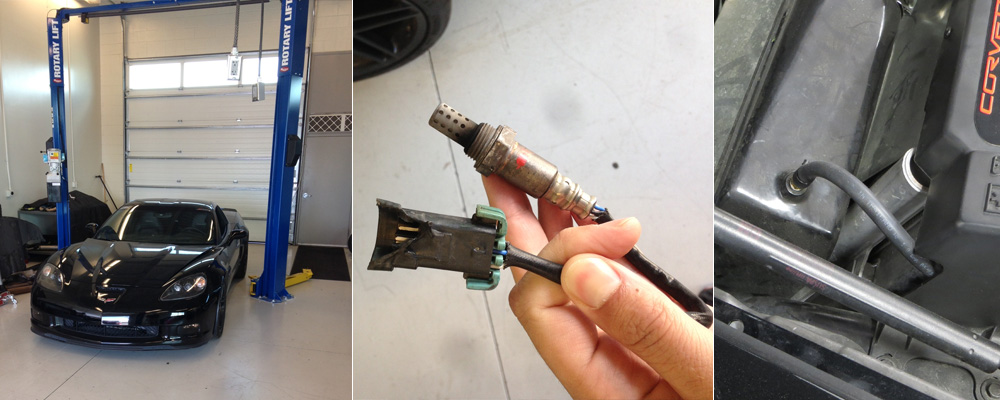
P2279 (Intake Air System Leak), P0507 (Idle Control System RPM Above Expected), P2177 (System To Lean Off Idle Speed Bank 1) and P2179 (System To Lean Off Idle Speed Bank 2). I’m pretty sure the last three codes are caused by the first though. The long term fuel trims were both over +31%. Do I have a gift or what? Back it goes!
The only thing I can think that might have causes the issue was the the road leading to the gas station- it was extremely bumpy. I guess it’s possible something popped off. Going home I never had the car over 4000 RMPs (no crazy WOT pulls or anything). I hope it’s just something simple.Update (July 11, 2013): There’s no more leaks that they can find. RaceCo talk with EVOMS and they are hammering out a battle plan to find the problem. Fingers crossed.
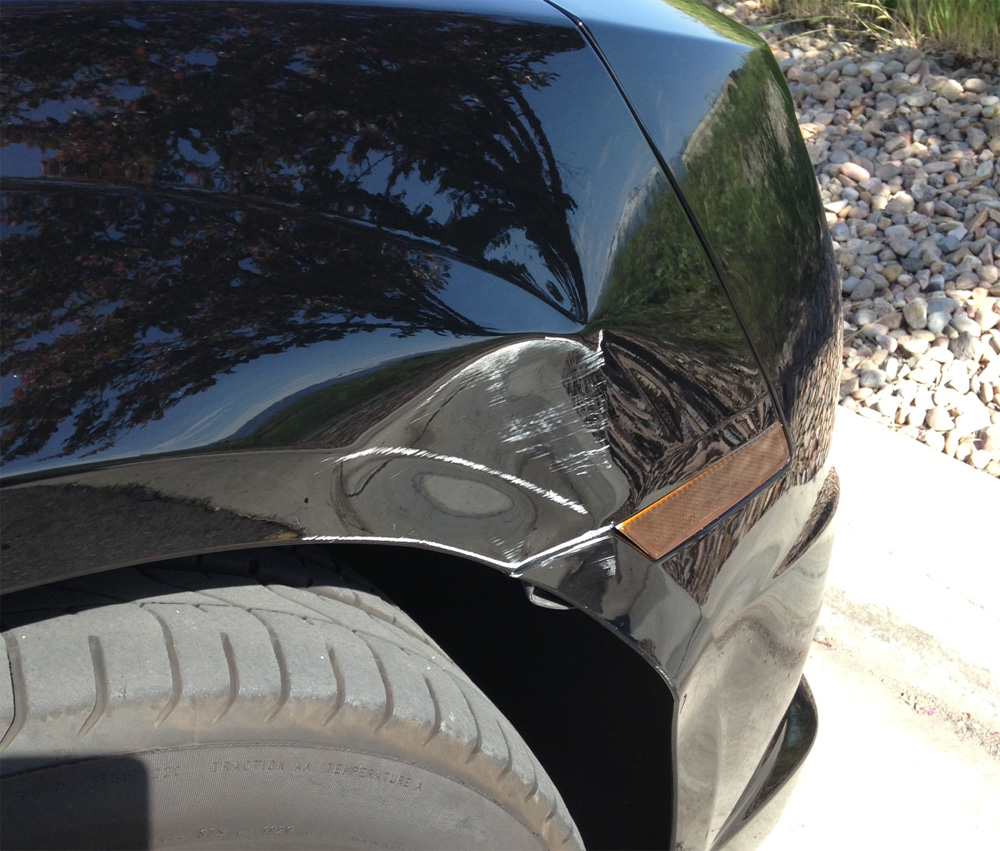
At least I have the Camaro (old faithful, I call it). I was considering doing a street tune on it, but have since decided just to leave it totally stock (and these days I’m starting to feel glad I wasn’t able to buy the modified Camaro I had my eye on). I don’t see any reason to mess with something that’s working, especially given my propensity for car problems. I do want to get the damage to the front of the car repaired, so I’ll need to address that at some point. I may even try and pop the dent out myself, but that can wait for now.
Here’s hoping next week is better! And yes, for the curious, I have “real” problems too. Perspective, perspective.
I leave you with this video on my dancing tachometer: